Commercial stands are fine, but for a lot of shooters a homemade target stand is fun project to work on away from the range, plus one that can save you money.
Recently, I updated my flashlight review protocols. One of the things I wanted to include were photos of the flashlights’ beam at night. For scale, I decided to illuminate a target at a known distance. For that, I needed a target stand. Rather than buy a commercial product, I decided to build my own portable target stand.
There are a lot of DIY hobbyists in the gun world. I’m one of them, and since you are reading this, I’m betting you are as well.
I documented my building effort and put together my notes into these plans for you to use if you like.
My total cost for parts was $34.40. Anyone with some of the parts lying around can do this even cheaper. My total time for construction was about two hours. You will likely do it in half the time because you won’t be stopping along the way to photograph and document your work.
- Preparation
- Assembly of the Stand
- Step 1 – Cut PVC Pipe to 16" Lengths
- Step 2 – Seal Four Ends with Test Caps
- Step 3 – Assemble Rear Base Legs
- Step 4 – Assemble Front Base Section
- Step 5 – Complete Assembly of Base
- Step 6 – Cement Uprights to Tees
- Step 7 – Assemble Upright Section
- Step 8 – Complete Assembly of Target Stand
- Step 9 – Finishing and Use
- Cheaper Assembly Option
- Final Thoughts
Preparation
As with any project, preparation can save you time later. I’ve put together a list of parts and tools you will need to build one of the stands I describe.
Parts List
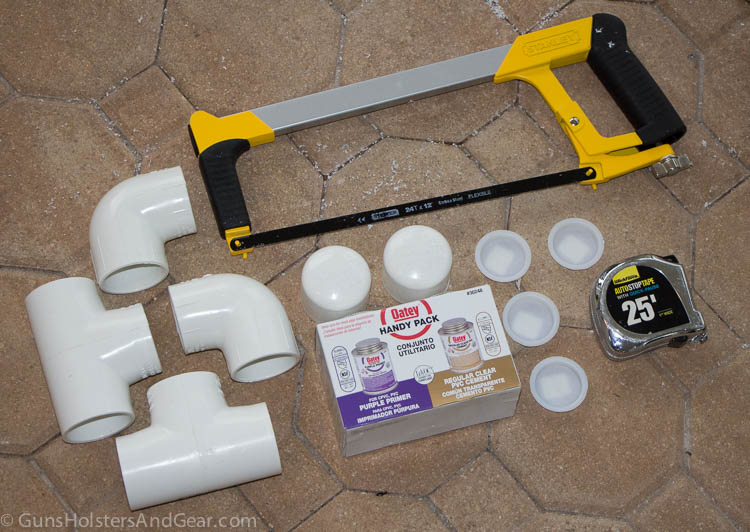
The following are the parts you will need to make the target stand I describe. To make things simple, I put together a PDF you can download to take with you to Home Depot, Lowes or wherever you do your shopping.
Here are the parts you need and the prices I paid for them locally at my Home Depot:
| Item | QTY | Price |
| 1.5: PVC pip, 10′ | 1 | $3.80 ea |
| 1.5″ PVC pipe. 2′ | 1 | $3.65 ea |
| 1.5″ PVC T-joint | 4 | $2.23 ea |
| 1.5″ PVC 90-degree elbow | 2 | $1.72 ea |
| 1.5″ PVC cap | 2 | $0.98 ea |
| 1.5″ PVC test cap | 4 | $0.58 ea |
| 1″x2″x8′ furring strips | 2 | $0.96 ea |
| PVC cement | 1 | $8.39 ea |
Click here to download the list to take with you to the store.
You will also need something to fill the PVC base with to weight it down. Dirt or sand out of your backyard will work, so don’t feel like you need to pick up self-leveling cement on your parts run.
Tools
Many people will have these tools on hand already. If you do not, don’t fret – they are relatively inexpensive. Here is what I used:
- measuring tape
- Sharpie marker
- hack saw (or specialized PVC pipe cutter)
- hand trowel/spade
General Cautions
Any time you use hand tools, chemicals or venture outside of your home, you run the risk of being injured. Exercise common sense and be careful. If you think anything I suggest is unsafe – don’t do it.
PVC cement and primer are chemicals that can be dangerous. Read the label and follow the instructions.
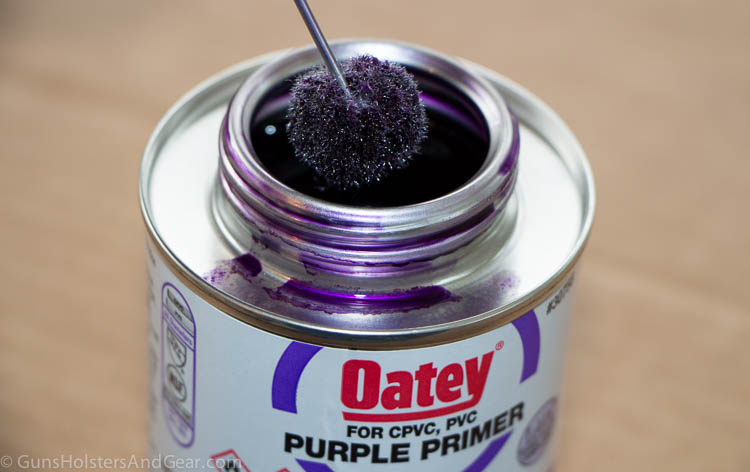
Another word of caution about PVC primer: it is purple and stains everything (including a pool deck – don’t ask me how I know.) Don’t work with this stuff over your carpet. I suggest taking things outside and working over old cardboard or something similar. Gloves aren’t a bad idea either.
Assembly of the Stand
I’ve arranged the steps in what I think are the easiest order. Some of you might see a better way. By all means modify these steps as appropriate and share your thoughts in the comments section at the end of this article.
Step 1 – Cut PVC Pipe to 16″ Lengths
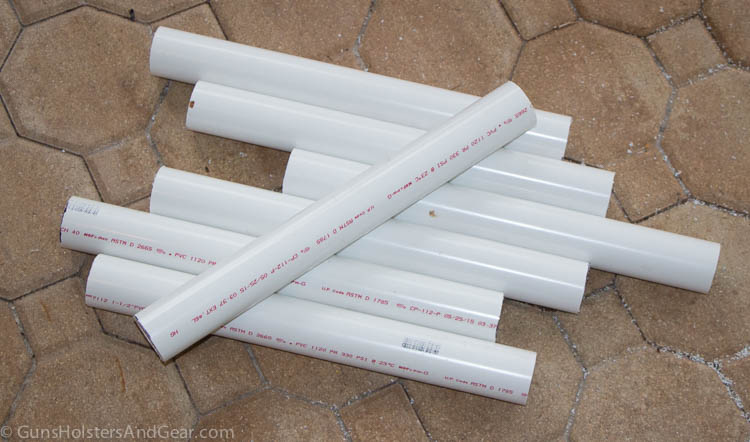
a. Using the measuring tape and Sharpie, mark off 16″ lengths on the 10′ and 2′ sections of PVC pipe.
b. Cut the pipe using the hacksaw or other tool. You should have eight 16″ sections of PVC pipe. Discard the scrap pieces.
Step 2 – Seal Four Ends with Test Caps
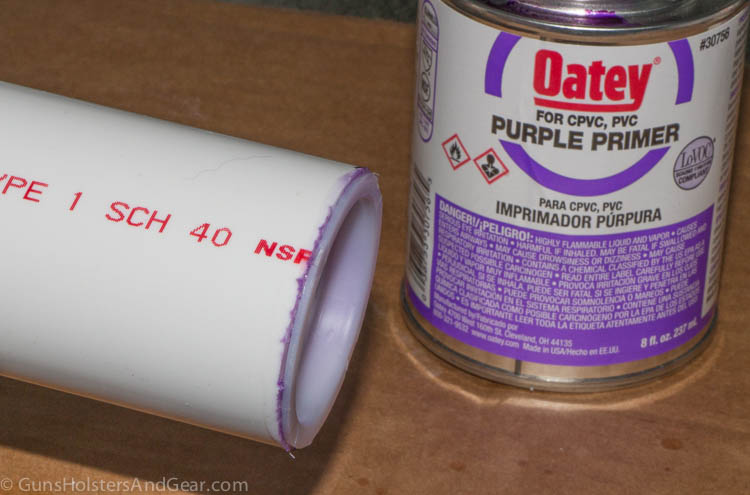
Take four of the PVC pipe sections and seal one end of each with the PVC cement and test caps. Follow the instructions of the PVC cement and be careful to not let it drip down your arm or onto anything valuable.
Step 3 – Assemble Rear Base Legs
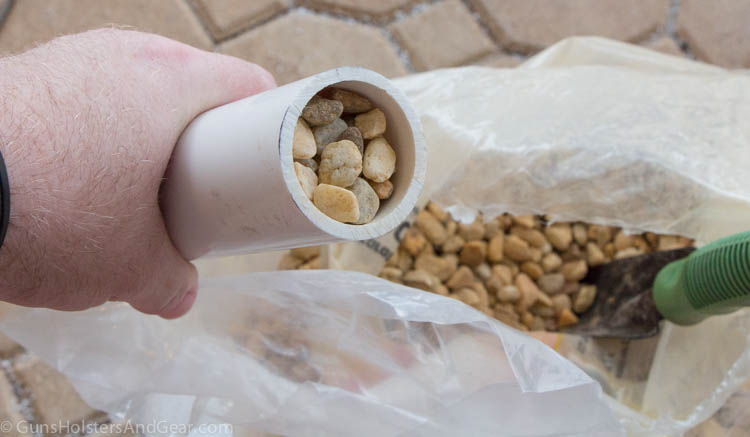
a. Take two of the sealed PVC pipe sections and fill the pipe with your ballast material. As mentioned above, this can be dirt, sand or virtually anything heavy. The pipe will be sealed, so don’t worry about the material leaking out.
For my target stand, I used pea gravel that I had on hand from another project. If that had not been on hand, I would have used wet sand from the back yard.
Make sure that the test caps are set before loading the ballast material in the pipe. You do not want them coming loose.
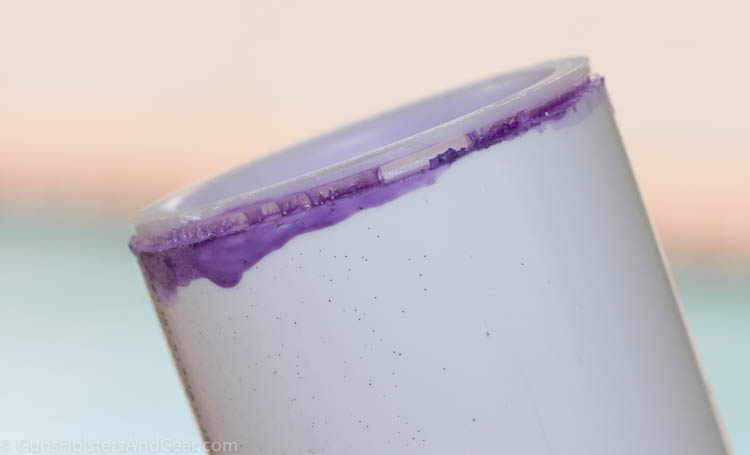
b. When the material is loaded in the pipe, seal the open end of each with the PVC caps and cement.
Step 4 – Assemble Front Base Section
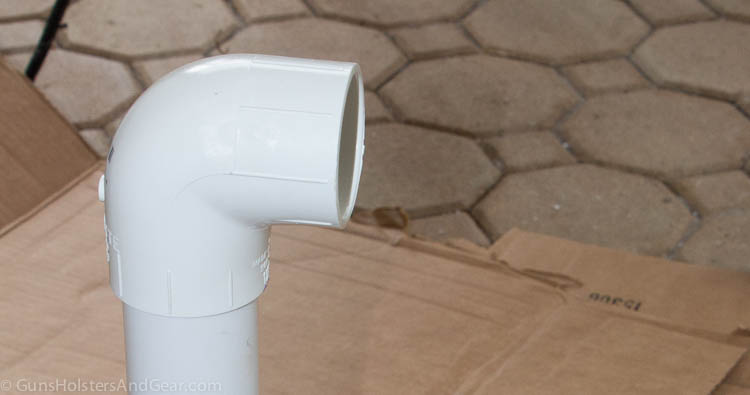
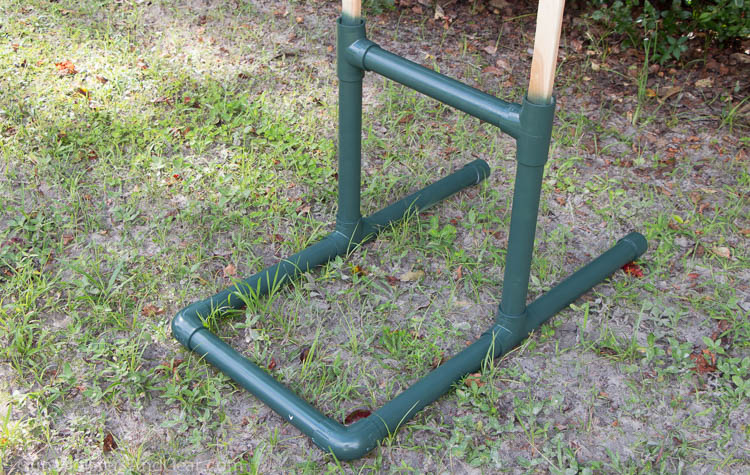
a. Take the other two PVC pipe sections with the test caps affixed and fill them with the ballast material. Then cement a 90-degree elbow to each of them.
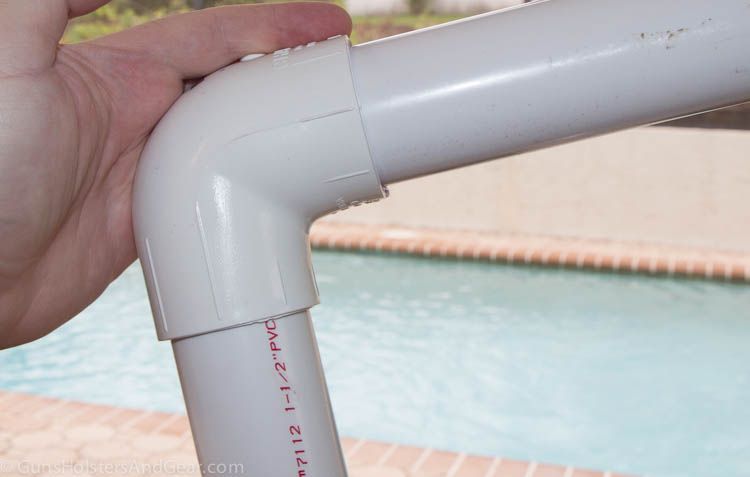
b. Take one of the unsealed PVC pipe sections and cement it into the open end of one of the elbows.
c. Fill the pipe with the ballast material.
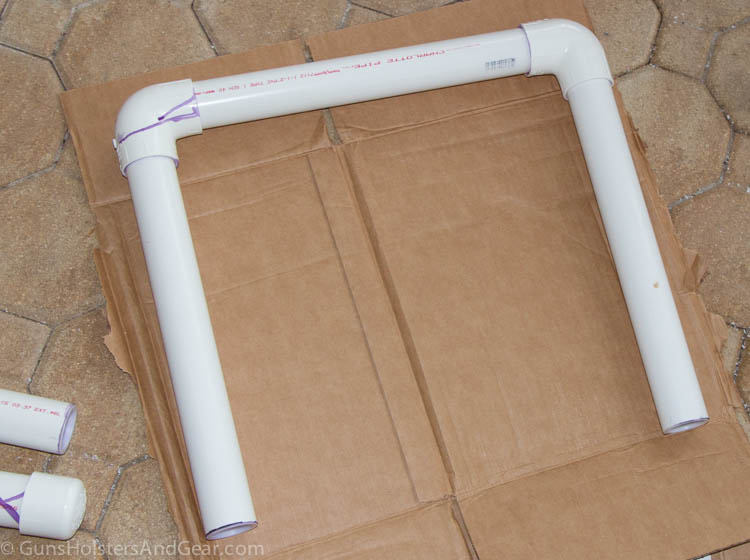
d. Cement the open end of this pipe to the open end of the remaining open elbow. This will complete the front part of the base section, and it should resemble three sides of a square.
Step 5 – Complete Assembly of Base
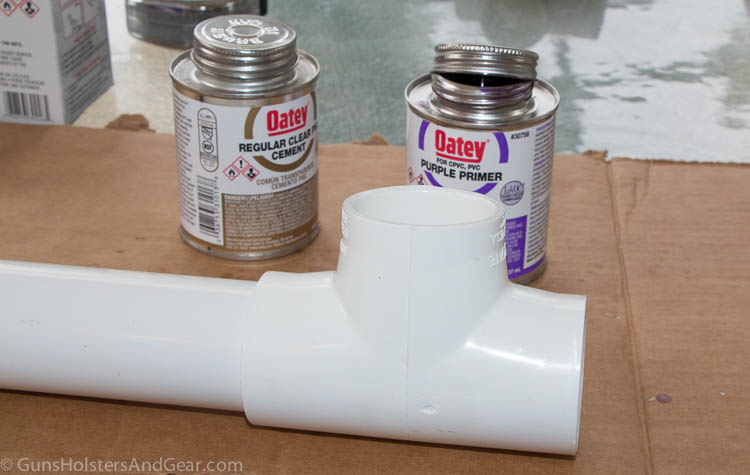
a. Cement one tee joint to each end of the front base section.
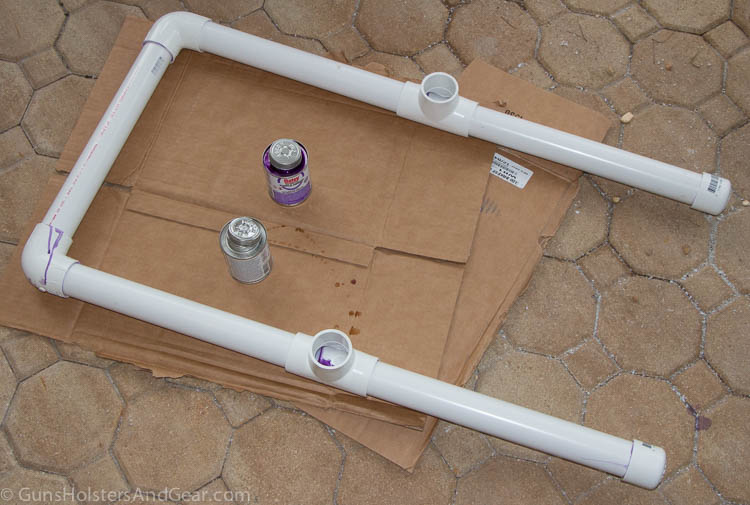
b. Cement the rear base legs into the open ports of the tee that are parallel with the front base section. This will complete the base section assembly.
Step 6 – Cement Uprights to Tees
Cement one of the unused PVC sections into one of the main outlets of an unused tee joint. Repeat for another PVC pipe section and the remaining tee.
Step 7 – Assemble Upright Section
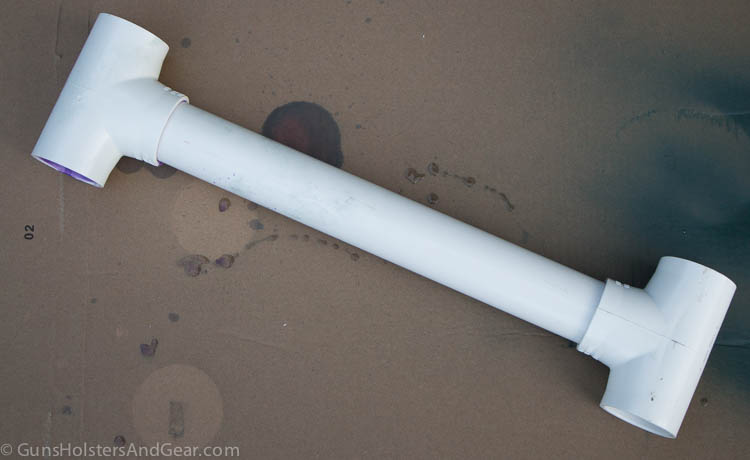
a. Cement the remaining PVC pipe section into one of the 90-degree outlets of the tee joints from Step 6.
b. Ensuring that all of the pipes will be on the same plane, cement the open end of the PVC pipe section in Step 7a to the remaining open 90-degree outlet from Step 6.
Step 8 – Complete Assembly of Target Stand
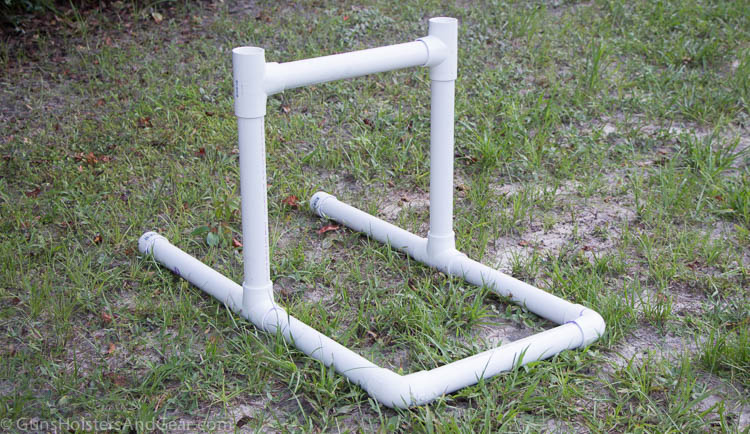
Slide the upright section from Step 7 into the base section. The target stand is now read for use.
If the stand is going to be used at a permanent location, the upright assembly can be cemented into the base. However, if this is going to be a portable target stand, do not cement the uprights into the base.
Without being cemented into the base, the uprights can be removed for more compact storage and transportation.
Step 9 – Finishing and Use
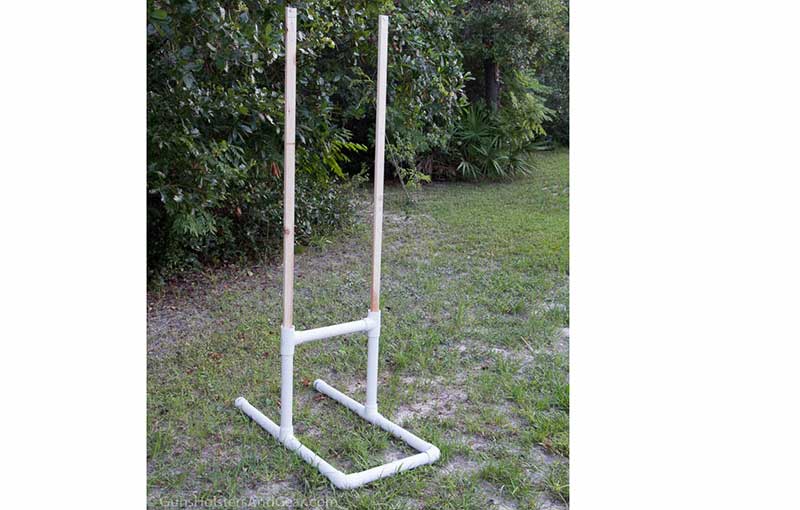
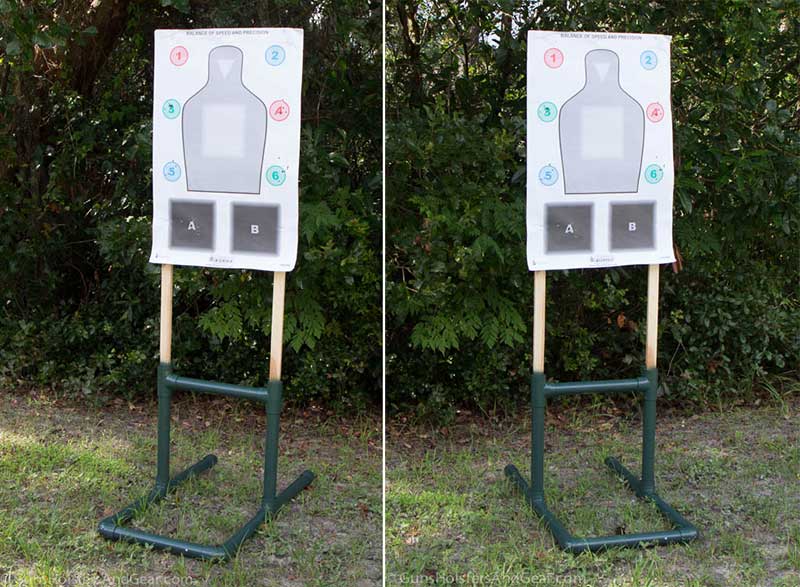
Insert the furring strips into the uprights. Targets and cardboard backers can be attached directly to these strips. If the strips are hit by a stray bullet, they are easy and cheap to replace.
The furring strips will be snug in the uprights. I find this helps to prevent them from swaying. You may want/need a rubber mallet to tap them into place.
I cut the furring strips to a 6′ length to approximate the average height of a man. You can cut them shorter or leave them long to meet your needs.
White PVC doesn’t bother me, but applying spray paint is an option. You definitely want to use a spray paint that is specifically designed for plastics, otherwise you can expect a lot of chipping in short order. Sanding and stripping off the pipe printing is a good idea (a great guide on this is here.)
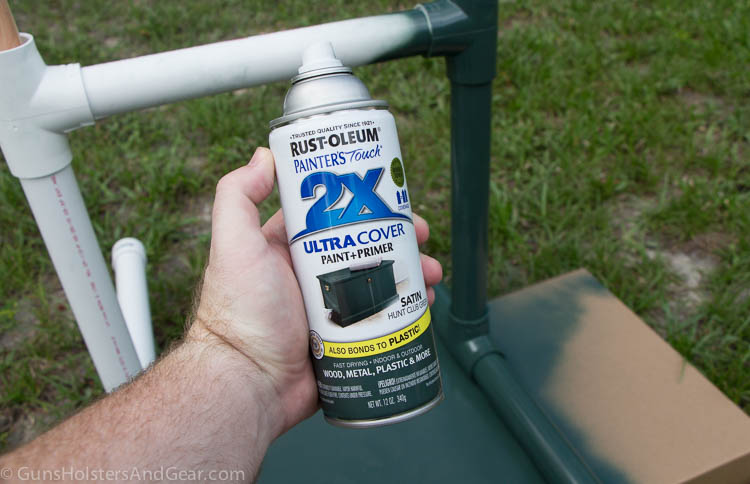
I used Rust-Oleum Painter’s Touch 2x Ultra Cover that includes a primer and paint on my stand. I did not sand the PVC, and the paint held good on the pipe plus completely covered all of the printing. I paid $3.87 for a single can of the paint. There was more than enough in a single can to do a single coat on two target stands.
Cheaper Assembly Option
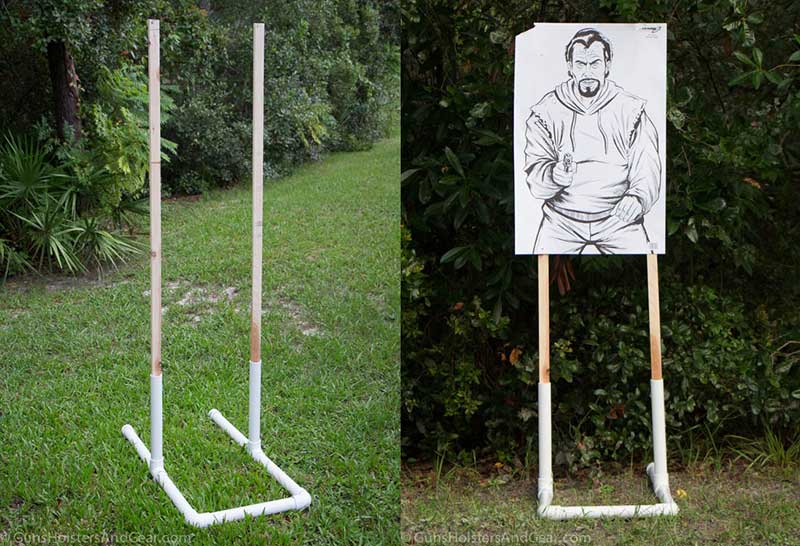
For a less expensive version of this stand, delete two of the tees and the extra 2′ section of PVC. Then when assembling the target stand, do not make a cross bar support for the upright section. This will still be sturdy enough for most people and will save you about $8.11 and bring the parts price down to $26.29. I prefer to have the cross bar support, but it may not be important to you.
Final Thoughts
I hope this has been helpful to you. There are a lot of different ways you can make a home made target stand, and using PVC like I have done is just one of them.
If you have any thoughts on how I can improve these plans, please let me know in the comments section below. I want to make sure that every shooter has a chance to have a quality stand without breaking the bank on parts or losing their mind on convoluted instructions.
Disclosure
GunsHolstersAndGear.com is an independent, for-profit website. I do not charge readers a dime to access the information I provide.
Some of the links on this page and site are affiliate links to companies like Amazon and Palmetto State Armory. These links take you to the products mentioned in the article. Should you decide to purchase something from one of those companies, I make a small commission.
The links do not change your purchase price. I do not get to see what any individual purchases.
71 replies on “How to Build a PVC Target Stand”
These are amazing, thanks for the guide. Making 15 of them for target practice for my boys, spent $160SGD. About $10SGD each!
I’m glad they worked out for you. I use mine regularly.
-Richard
I just built two of these, they’ll be awesome to use!
Thanks for the feedback Neil. I hope you get lots of time shooting with them!
-Richard
This is great! Will make a couple of these for my 2 upcoming desert shooting trips. Thx for the details!
Glad it is helpful!
-Richard
I cut the front and top cross pieces 24″ which is the width of my man shaped targets.
https://uploads.disquscdn.com/images/c55cf1ca6f40fed2c371834e16fb51adb3db428558312bf3ac1fa89673432be1.jpg
Wow – what a beautiful place to shoot!
-Richard
My first DIY shooting project. So of course I screwed it up as far as the caps go. I didn’t understand the difference in caps. But I did find a use for them:
When I filled the two ends with desert gravel, I used the two remaining caps to keep the contents ‘inside’ while transporting. I picked two rocks that would fit the inside to keep the smaller stuff inside when the end caps come off to be inserted in the back of the base. That way I don’t have loose gravel everywhere when I break them down to transport back home. Easy enough and it looks great! BTW I bought everything in black PVC so I wouldn’t have to paint. Took 5mins. https://uploads.disquscdn.com/images/3a94ba98b9ce5bc75101d895424f6451d705f9d5abdc1487621de2e30aa84bd7.jpg
Looks great! Good call on the black PVC.
-Richard